If that sounds like a scary but intriguing prospect, it’s because it is!
I had to try it.
I’d experienced facial cupping once or twice inholistic-leaning facialsbut certainly hadn’t tried it myself.

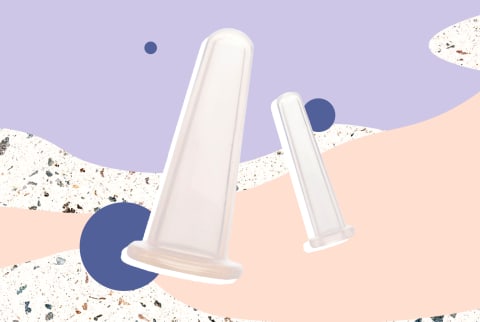
You, too, can get it for a cool $30 on Amazon.
But that was no matter, because the cups were effective.
Here’s how I did “facial cupping"and the unexpected results.
The best, most visible benefits seemed to occur directly after the cupping session versus over time.
Using the cups was enjoyable.
To start, you need a whole lot of oil so the cups can easily glide across your face.
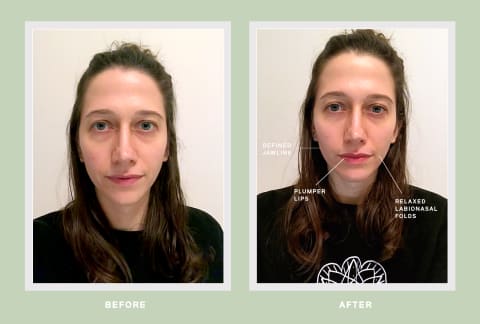
I was experimenting with my nasolabial folds, forehead lines, eye area, and lips.
To begin, I gently squeezed the cup and applied it to my face.
I did this several times, making sure to apply gentle suction.
It was harder than it looks!
I ended up using the small cups for most of my treatment.
The do’s and don’ts of facial cupping, from a professional.
Beware: I also gave myself a shiner on my left eye!
(You should see the other guy.)
Get a lot of slip on theremore than you think you need.
A high-quality jojoba oil works well too.
Don’t be afraid to be REALLY liberal; you could alwayswashcloth it offafterward.
DON’T let it sit in place; that can cause bruising.Keep it moving!
The forehead and eye areas are more prone to bruising, and the thicker fleshy areas are less so.
DON’T do facial cupping with certain conditions.Don’t do cupping on any areas that have broken capillaries.
If you’re prone to broken capillaries, facial cupping probably isn’t for you.
Don’t go over the veins in your neck.
They have their own job to do, and the cupping will interfere with that.
DO move along lymphatic pathways.Moving down with the cup will help move stagnant lymph.
you could also move out toward the sides of the face or up for lifting.
It was quite fun to do, and the immediate results are uplifting both in face and in spirit.
