I’ve found that when I’m knotting, time passes quickly and creativity builds.
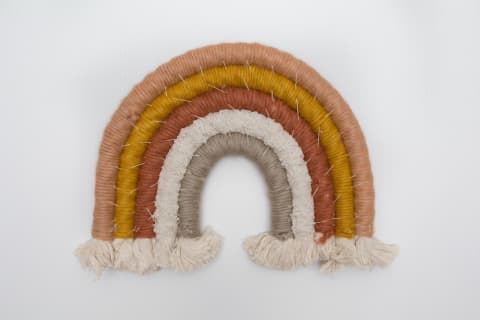
This DIY rainbow is a really funand easy!introduction to the wonderful world of macrame.
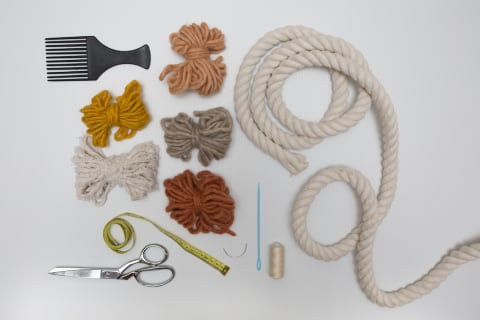
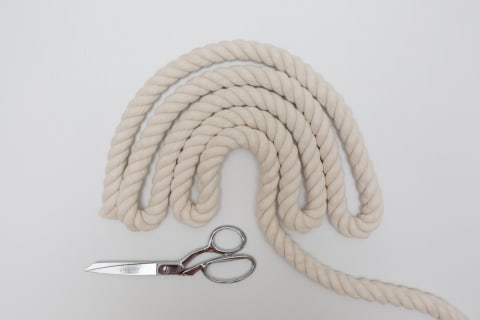
after you grab your shape, cut your rope into 5 pieces.

Step 2:Prepare your chunky yarn.
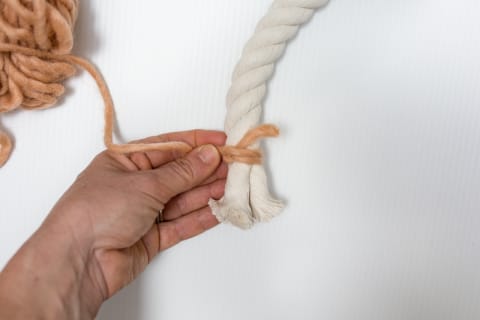
It will wrap around your rope to create a textured effect.
Note: If your yarn is on the thinner side, you will need to add additional length.
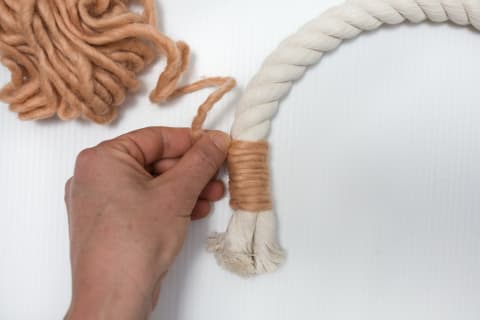
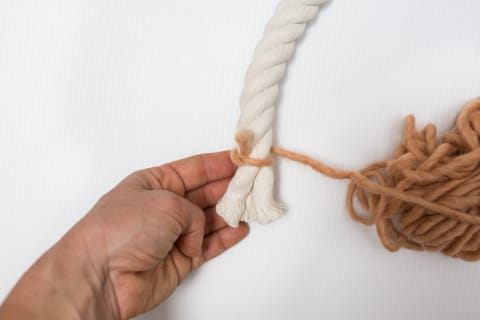
Step 3:Now, it’s time to attach your rope to yarn!
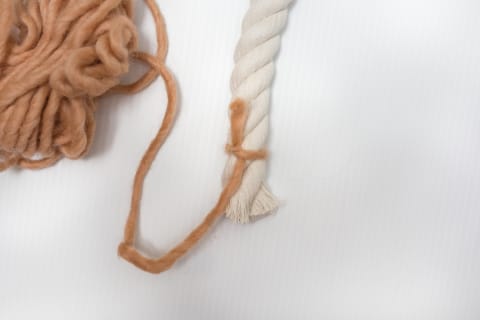
Take the materials for your largest rainbow curve (64 cm of rope and 15 yards of yarn).
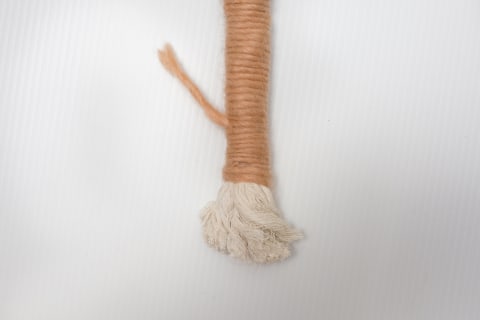
Leave 2 cm from the end of your rope and attach your yarn with anoverhand knot.
Leave the tail facing back toward the rope length.
Leave the last 2 cm of rope visible.
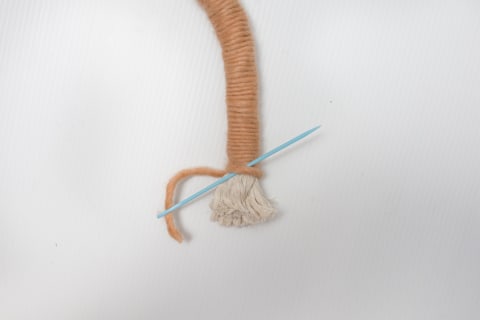
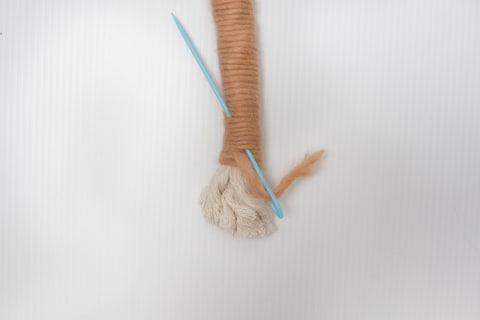
Step 5:Thread your yarn through the large-eye needle.
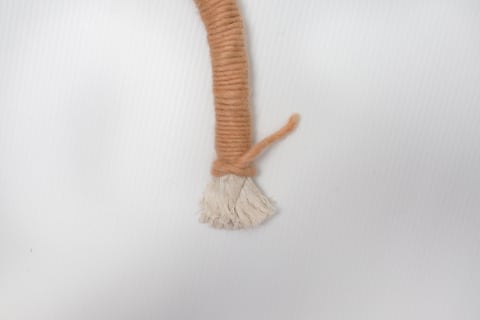
This hides and secures your yarn.
Snip the remaining tail once complete.
Step 7:Repeat this action with the four remaining curves.
Once complete, lay them all together and gently manipulate the resting shape into a rainbow.
They should be as close as can be to one another.
(Note: If you don’t have a curved needle, a regular one will work too.)
The fluffier, the better!
Snip to suit your desired look.
Check out more of mbg’s Craft Week how-to’shere.